Difference between revisions of "Logjam"
Jump to navigation
Jump to search
m (rc1 now) |
m (Updated currentversion, Added MapLeagueInclusionTable) |
||
| Line 4: | Line 4: | ||
| image = logjam.png | | image = logjam.png | ||
| maptype = [[5CP|Control Point]] | | maptype = [[5CP|Control Point]] | ||
| − | | currentversion = | + | | currentversion = cp_logjam_rc1 |
| developer = Hyce | | developer = Hyce | ||
| default = No | | default = No | ||
| Line 15: | Line 15: | ||
<p>Logjam is used mainly in [[6v6]]. It was used in the [[ETF2L]] Season 19 & 20 and [[CEVO]]-P Season 6 map pools. The map was also featured in [[ozfortress]]' Second Summer Cup and [[ETF2L]]'s Logjam Cup. </p> | <p>Logjam is used mainly in [[6v6]]. It was used in the [[ETF2L]] Season 19 & 20 and [[CEVO]]-P Season 6 map pools. The map was also featured in [[ozfortress]]' Second Summer Cup and [[ETF2L]]'s Logjam Cup. </p> | ||
| + | {{Logjam/MapLeagueInclusionTable}} | ||
==Map Locations== | ==Map Locations== | ||
Revision as of 00:02, 4 October 2015
Template:Map infobox cp_logjam is a 5cp custom map in development, currently in the version cp_logjam_rc1.
Usage in competitive
Logjam is used mainly in 6v6. It was used in the ETF2L Season 19 & 20 and CEVO-P Season 6 map pools. The map was also featured in ozfortress' Second Summer Cup and ETF2L's Logjam Cup.
| 6v6 | ||||||||
|---|---|---|---|---|---|---|---|---|
| Season 9 | ||||||||
| Season 20 | ||||||||
| cp_logjam | Season 19 | |||||||
| Total inclusions | 2 out of 46 | 1 out of 21 | ||||||
Map Locations
Middle Point
| Logjam — The middle point |
|---|
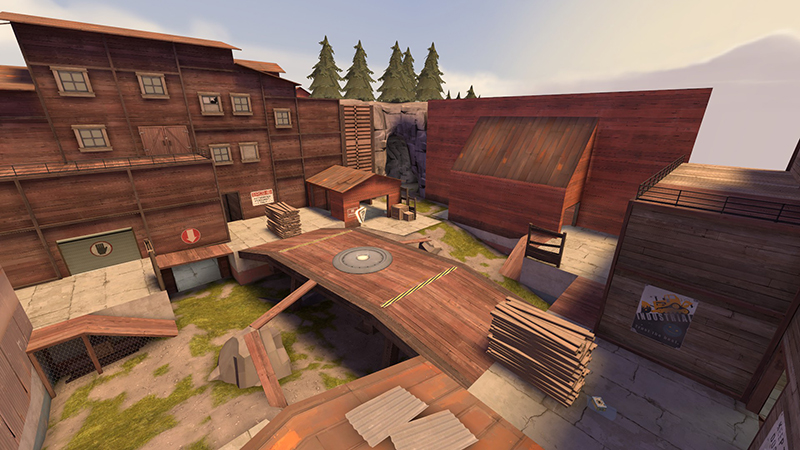
Under Lower Log-Room Top Log-Room Shack / Hut Kitchen |
Second Point
| Logjam — The second point |
|---|
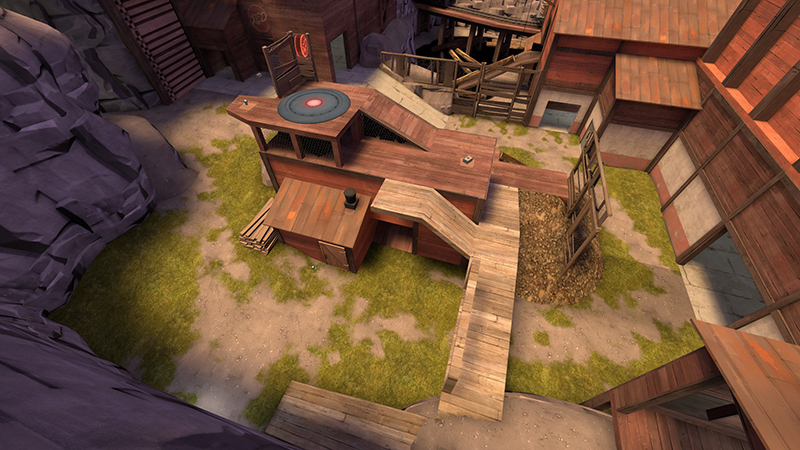
Cave Overhang / Doughnut Underpants Main Flank / Shutter Choke Log Room Log Room Side |
Last
| Logjam - Lobby |
|---|
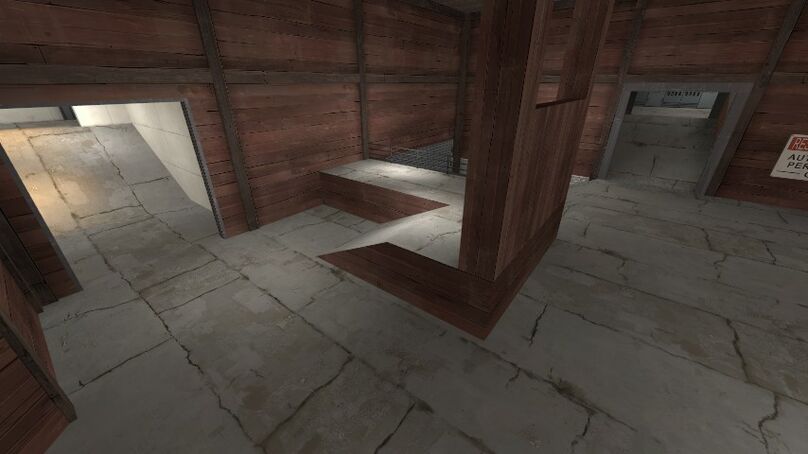
Main Sneaky Shutter / I.T. Wall |
| Logjam — The last point |
|---|
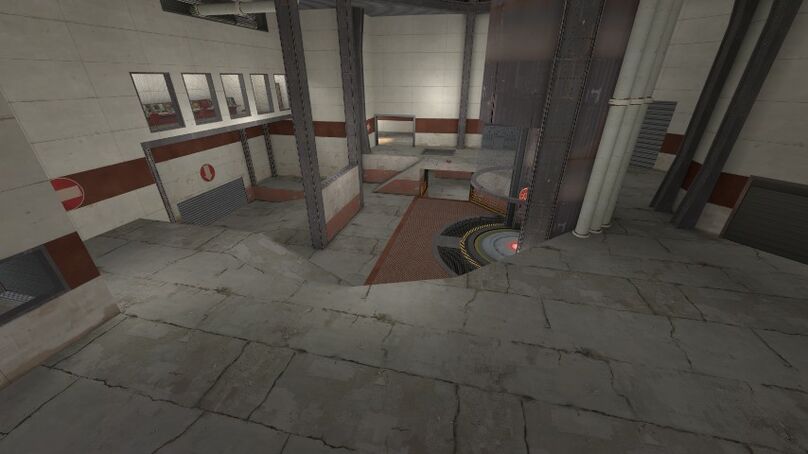
Shutter Top Right / Top Sneaky (Lower) Right / Sneaky Main Block |
Links