Difference between revisions of "Steel"
| Line 65: | Line 65: | ||
| − | + | {{Map locations | |
| − | + | | title = Steel - Control Point A | |
| − | + | | image = cp_steel_A1.jpg | |
| − | + | | area1 = Point (A) | x1 = 260px | y1 = 170px | |
| − | + | | area2 = Barrel | x2 = 25px | y2 = 310px | |
| − | + | | area3 = Ramp | x3 = 260px | y3 = 230px | |
| − | + | | area4 = Yard | x4 = 430px | y4 = 230px | |
| − | + | | area5 = Rocks | x5 = 580px | y5 = 220px | |
| − | + | }} | |
| − | |||
| − | |||
| − | |||
| − | |||
| − | |||
| − | |||
| − | |||
| − | |||
| − | |||
| − | |||
| − | |||
| − | |||
| − | |||
| − | |||
| − | |||
| − | |||
| − | |||
| − | |||
| − | |||
| − | |||
| − | |||
| − | |||
| − | |||
| − | |||
| − | |||
| − | |||
| − | |||
| − | |||
| − | |||
| − | |||
| − | |||
| − | |||
| − | |||
{{Maps navbox}} | {{Maps navbox}} | ||
[[Category:Attack/Defend maps]] | [[Category:Attack/Defend maps]] | ||
Revision as of 04:25, 14 October 2014
Steel is an Attack/Defend map consisting of 5 points. Whenever a point is captured, something on the map changes. Doors open and close, platforms extend, or red spawn changes. Due to its complexity, Steel is a map that brutally puts a team's cohesion to the test.
Attackers: Attackers only get one spawn, however, as they capture A, B, C, and D, they will cut off more and more spawns for the defenders.
Attackers objectives is to capture E in order to win a game, which is located in a chasm where only scouts and explosive/bullet/selfdamage jumping classes can get to
To assist, capturing C brings a drawbridge to E, and capturing D puts railings on E
In a stopwatch map, capturing E counts a capturing all 5 points (does not count as "one point")
The A,B,C and D points have to be captured in order, while E can be capped at any time (while it takes a exceeding long time to cap, the cap time for E does not change depending on how many points the attackers own)
Defenders: Defenders start off by holding A, the only capturable point, while the attackers two spawns open
At this point, defenders only hold A, however attackers may choose to run though B (without being able to cap it) to E
After A is capped, two routes (one to E, one to B) open up and the attackers can choose to attack E or B
After B is capped, defenders lose their primary respawns (from A, B, and E) and are given a backspawn, connecting to E, D, and C. Any people left inside the primary spawn will be teloported to the backspawn with medics keeping their ubercharge, etc.
Routes to C from B are opened up, at this point, the entire map is accessible, however accessing D is very hard as defenders have a joint backspawn very close to C which connects to D
Capturing C opens a drawbridge to E, allowing the heavier classes to cap as well as removing the defenders backspawn advantage to C
Capturing D gives the drawbridge railings and removes the Defenders backspawn from E and D (at this point, defenders only have one spawn at D!)
Locations
Control Point A
| Steel - Blu Spawn |
|---|
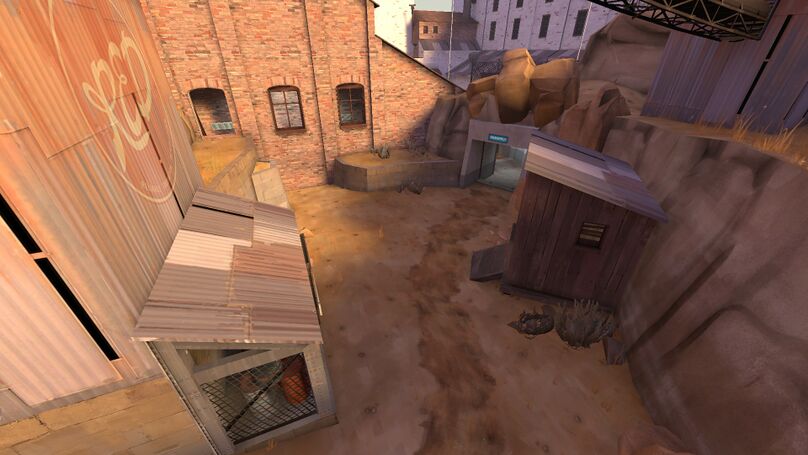
Cliff Windows Ledge Health Pack Roof Yard |
| Steel - Control Point A |
|---|
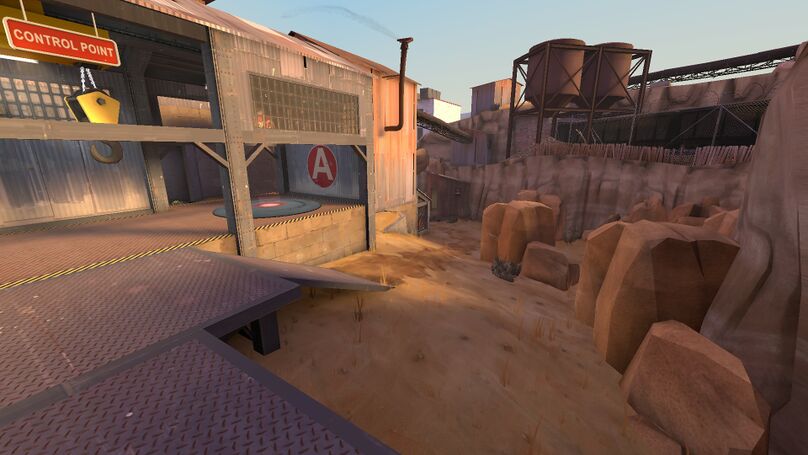
Point (A) Barrel Ramp Yard Rocks |