Millstone

Millstone is an community-created Payload map created by ICS. The final version of the map by ICS was released on 1 January 2015. Similar to Swiftwater, the map was adopted by the UGC league for UGC Highlander Season 20 and is also currently in rotation for UGC Highlander Season 22, the map is currently in its seventh UGC version.[1] Millstone's Halloween version, Hellstone, was made official during Scream Fortress 2015.[2]
Contents
History[edit]
It is still being improved by the creator. It has had more than 100 versions, including the Halloween ones. At first, It was supposed to be a Attack/Defend map with 3 control points, but the programming didn't work and the creator decided to make it a payload map instead. Basically every area of the map was redone. The map is put together of different areas, to improve the framerate without degreasing the graphics.
Usage in competitive[edit]
| Highlander | |||||||
|---|---|---|---|---|---|---|---|
| Season 20 | |||||||
| Season 22 | |||||||
| Total inclusions | 2 out of 39 | ||||||
Bold italics denotes the current or latest season
Map locations[edit]
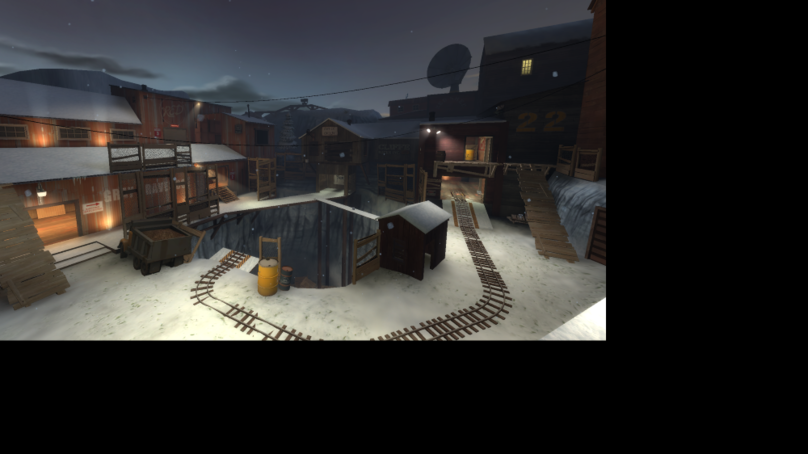
| Millstone - Starting area |
|---|
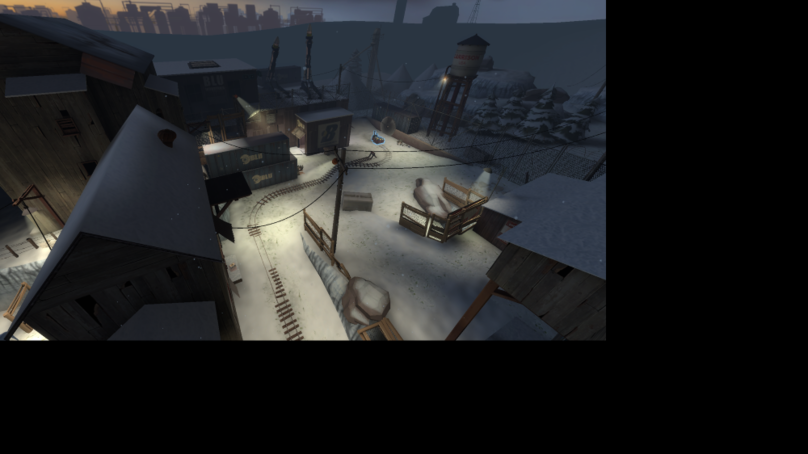
spawn house rock bunker fence |
Attacking[edit]
The attacking team has to get an Ubercharge advantage, and they can do that by suiciding, like in many other Payload maps. In this particular case, a good Ubercharge push will result BLU demoman and soldier ending up in the corner behind the rock. From there, they can peak up and try to kill the enemy demoman, so he can't attack them from a high ground. If the soldier equips the Gunboats, he can bomb at the sniper and probably get some extra damage on the enemies near the bunker. If the defendig demoman is killed, then the attacking demoman can come out of the corner and deal serious damage. When BLU gets another Ubercharge while holding their position, they can get a much further foward position by going through the house and trapping the upper flank route.
Defending[edit]
The RED team has to make sure the attacking demoman and soldier don't get to the rock and potentially the corner. They have to retain even Ubers, or in a better case an Uber andvantige, to delay the opponents' push. Also, on top of the containers is an adventageous highground spot for the RED soldier, because their sniper in the bunker (the fence is an aggressive spot) can support them, while keeping an eye out for other enemies near the cart. The engineers' usual Sentry spot is on the payload tracks next to the fence, so it is protected from long range sniping from the payload cart, the biggest weakness of this spot is the soldier and demoman peeking from the side or over the containers, but the defending sniper deals with that.
| Millstone - First point |
|---|
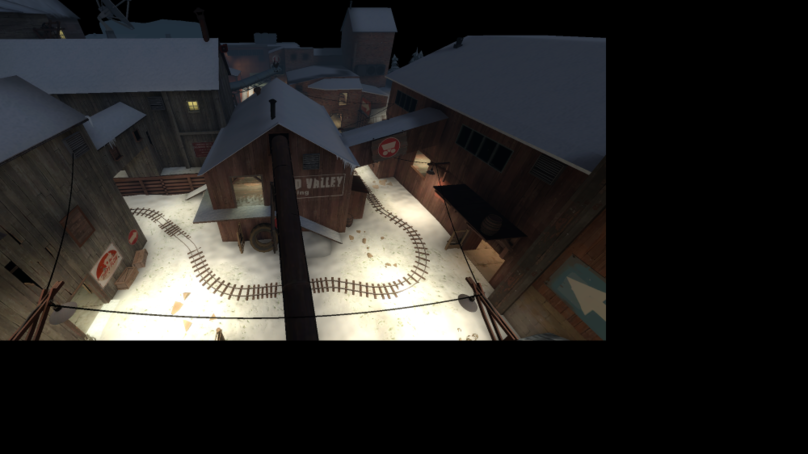
house upper flank window sniper flank choke |
Attacking[edit]
The attackers have to quickly set them up for a fight after an Uber push, because otherwise the enemies just surround them and overwhelm them. That's the reason why BLU has to secure the upper flank route immidiately, by using sticky traps and Mini-Sentries. From there, if the enemy medic didn't die during the last uber push, they have to immidiately get a pick on the medic. It has to happen, otherwise the enemies shatter all their defenses. If the pick fails, it is hard for BLU to come back, but if it works, the attackers get control of the upper flank, whitch is extremely important to take down the Sentry. The sniper stands usually in the house door. Gaining control over the upper flank also makes it easier to destroy the dispenser, where ever it might be. The sniper has to counter-snipe the enemyto get control of the big sightline from sniper flank to house, because it is very powerful.
Defending[edit]
RED engineer's Sentry gun should be near choke, because there it is in a powerful position and as long as the upper flank is guarded, it is complitely safe. The dispenser spot is dependent on the enemies' progress in the position. The most important is to defend the upper flank to prevent any enemies from coming there and to punish the enemy team for not securing the route to the bunker. It is important to watch out for flanking scouts, spies and bombing soldiers to keep the medic alive.
| Millstone - Second point |
|---|
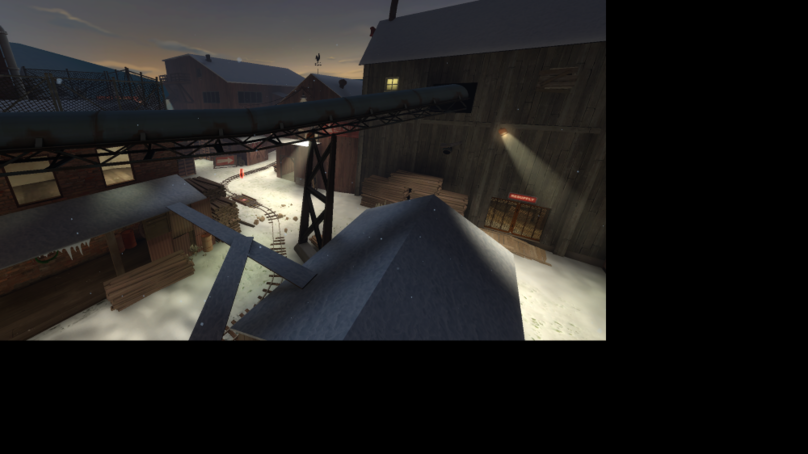
windows plank roof spawn choke |
Attacking[edit]
In this area, the BLU team has to get through the sticky traps in choke to clear the area and push foward. If a medic pick is needed due to Uber disadvantage, the scout can flank through the sniper flank route and over the plank to kill the medic from behide, but it is difficult because of the enemy soldier and Sentry gun. In some certain scenarios, the attacking scout, soldier, demoman and heavy can all go through the sniper flank route and Ubercharge in from above. When the cart is near the point, the attacking pyro has to be with the team to reflect the enemy soldier's rockets coming from the plank. In this area of the map, the sniper sightline is large and the sniper can apply pressure on the roof and near RED's first spawn. If the cart is on the point and the RED team is buisy, the BLU spy can get many backstabs.
Defending[edit]
Keeping control of the sniper sightline is always important, because otherwise the enemies can freely push. After BLU has reached through the sticky traps in choke, the demoman is not very important for the team, but he can trap the house and its windows to prevent anyone from coming in this way. The soldier is usually on the plank to prepare bombs and/or spam rockets on the cart. The Sentry spot should be changed every time when BLU does a small push, because of the growing chance of a flanking scout in the house. At the same time, RED can also send a scout to guard the flank route through house and maybe even counter-flank the enemies through sniper flank. If the enemy sniper is alive, no-one should walk through the sniper sightline, especially roof other than the defending sniper. If the enemy sniper is dead however, the defending team should go foward and setup there. If BLU has pops Uber, it is extremely important to retreat and quickly set up there to not get teamwiped.
| Millstone - Third point |
|---|
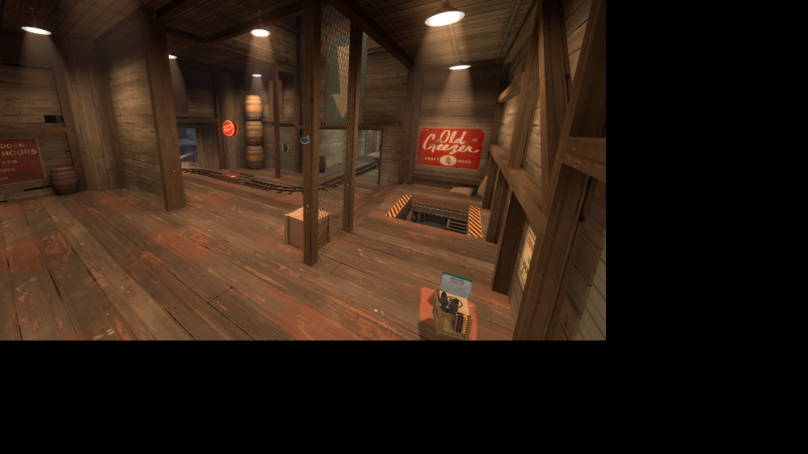
drop point corner hallway |
In this point, it is a closed room so the both demomen are the most important targets. RED demoman can trap different sneaky spots, BLU demoman can spam in the choke (the entire area). The BLU sniper is usually the one suiciding for the team to gain Uber advantage, because it's a closed area. The snipers can camp the hallway, but demomen deal more consistant damage and have explosive weapons. In this part of the map, the Wrangler for the RED engineer is very neccecary, because the Sentry is getting spammed a lot and the Wrangler's damage shield helps with it. BLU can use the drop to shortcut, but RED can put a sticky trap there to prevent it.
| Millstone - Fourth point |
|---|
crates up point slope |
In the earlier versions of this map, this area was much less open. The up area wasn't visible, unless you were in the corner and heading this way and there were some additional walls. This area is similar to the third point, exept the added up area, whitch gives BLU scouts and spies the ability to sneak up behind the enemies. When BLU first reaches this area, the attacking soldier has to occupy the crates by standing on top of them, getting an adventageus highground position. The RED demoman has to trap the side of the crates to hold the attackers back. The RED Sentry gun can be in different spots, but it has to have straight vision on the crates to prevent the enemy soldier from ever coming there. The defending sniper should be in up, where he can hide himself to cover very fast when camping the tunnel's exit and the crates. In a perfect defence, it is hard for BLU to push even with Ubercharge.
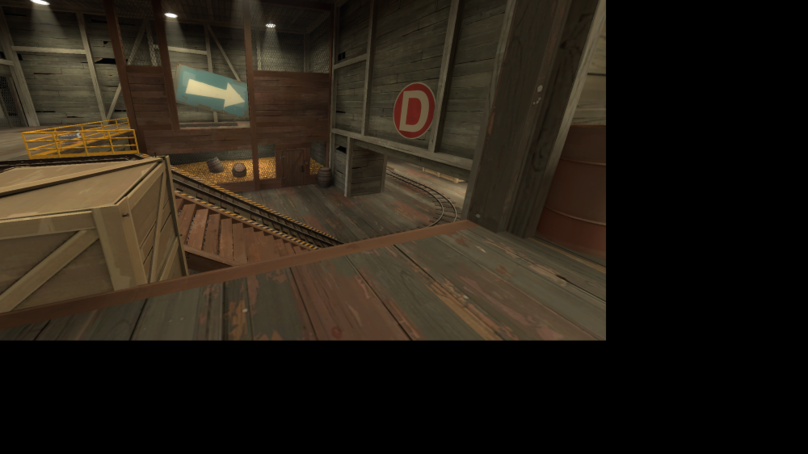
| Millstone - Final point |
|---|
final spawn pit point bay ramp |
Attacking[edit]
This area is hard to attack, like in many other Payload maps. BLU has to first push the cart near the small house next to pit. From there, the attackers have to suicide themselves for the cart to not start moving bacwards. At the same time, they have to build Uber as fast as possible to push with it before the RED team has it ready. If BLU has full Ubercharge and RED hasn't, the attackers have to Uber a power class and destroy the Sentry, after that spam on the enemies and suicide themselves to push the cart to the pit.
Defending[edit]
At first, the team has to protect the Sentry in front of the payload cart but behind the house. When BLU has succesfully destroyed the Sentry, the defending engineer has to quickly build his Sentry next to the truck. The pyro has to suicide in order to airblast enemies away from the cart and into the pit. Soldiers can be on the house, but after the Sentry is destroyed, it is a dangerous position. The defending demoman has to constantly spam on the cart to prevent BLU from pushing the cart. It is very useful to run the Critskrieg or the Quick-fix when there's not much time to get a stock Medigun Ubercharge.
References[edit]
| List of active competitive Team Fortress 2 maps | |
| 3CP | Warmfrost |
| 5CP | Badlands · Granary Pro · Gullywash · Metalworks · Process · Reckoner · Snakewater · Sunshine · Villa |
| Attack/Defend | Steel |
| King of the Hill | Airfield · Ashville · Bagel · Brazil · Cascade · Clearcut · Coalplant · Forge · Lakeside · Product · Stallone · Warmtic |
| Payload | Badwater · Borneo · Swiftwater · Upward · Vigil |