Difference between revisions of "Custom HUD"
Onespaceman (talk | contribs) |
|||
| Line 7: | Line 7: | ||
Since the Steampipe update, custom files are much more easily installed and managed. | Since the Steampipe update, custom files are much more easily installed and managed. | ||
| − | + | # Download your preferred HUD, which usually come in a .zip or .rar format | |
| − | # | + | # Extract the main contents of the HUD package into its own folder, which can have any name of your liking. The folder should now contain resource, scripts and/or materials folders. |
| − | # | + | # Copy the folder to the '''Steam/steamapps/common/team fortress 2/tf/custom''' directory on your hard drive |
| − | # | + | ## On Mac OSX/macOS copy the folder to '''~/Library/Application Support/Steam/SteamApps/common/Team Fortress 2/tf/custom''' |
| − | # | + | ## On Linux copy the folder to '''~/.local/share/Steam/SteamApps/common/Team Fortress 2/tf/custom''' |
| − | |||
| − | |||
| − | ''' | ||
| − | # | ||
| − | |||
| − | |||
# Start the game and test the HUD you installed | # Start the game and test the HUD you installed | ||
Revision as of 03:19, 26 August 2016
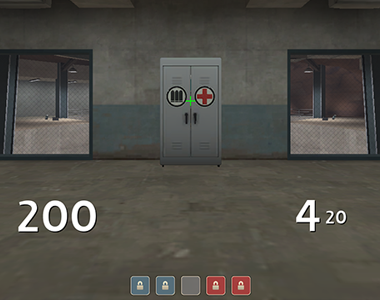
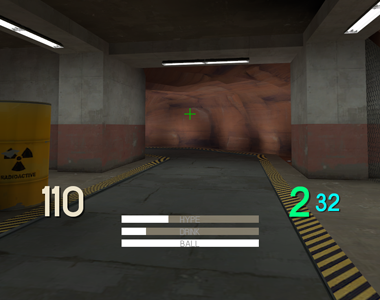
The HUD, or heads-up display, are the in-game element such as health and ammo indicators, the killfeed, etc. Custom HUDs are very important to the competitive scene because they usually focus more on usability. Many competitive players prefer custom HUDs over the default one as they clutter the screen less and show more relevant information to the player.
How to install
Since the Steampipe update, custom files are much more easily installed and managed.
- Download your preferred HUD, which usually come in a .zip or .rar format
- Extract the main contents of the HUD package into its own folder, which can have any name of your liking. The folder should now contain resource, scripts and/or materials folders.
- Copy the folder to the Steam/steamapps/common/team fortress 2/tf/custom directory on your hard drive
- On Mac OSX/macOS copy the folder to ~/Library/Application Support/Steam/SteamApps/common/Team Fortress 2/tf/custom
- On Linux copy the folder to ~/.local/share/Steam/SteamApps/common/Team Fortress 2/tf/custom
- Start the game and test the HUD you installed
Note: The game should be closed while you do this.
You can also check Huds.tf guide on How to install custom Huds here.
How to create custom HUDs
For most HUD editing tasks only a text processor is needed, this makes it very easy to create and edit custom huds.
There are some guides/tutorials created by various members of the community on the subject, which can be seen below:
- Flame's Guide To HUDs (.pdf)
- Doodles HUD editing guide
- Rays HUD tutorials (Youtube Playlist)
- Boen's Guide to HUDs Part 1
- Boen's Guide to HUDs Part 2
- huds.tf Guide on how to install custom Fonts on your hud by Flatline
- huds.tf Guide on how to install custom Crosshairs on your hud by Han Brolo
Other Guides
External Links
- huds.tf - A community driven website that contains new and old HUDs and is continuously being updated.
- Teamfortress.tv Thread - A large HUD collection, although more outdated than huds.tf.
- Gamebanana - TF2 HUDs - 10+ pages of HUDs.

